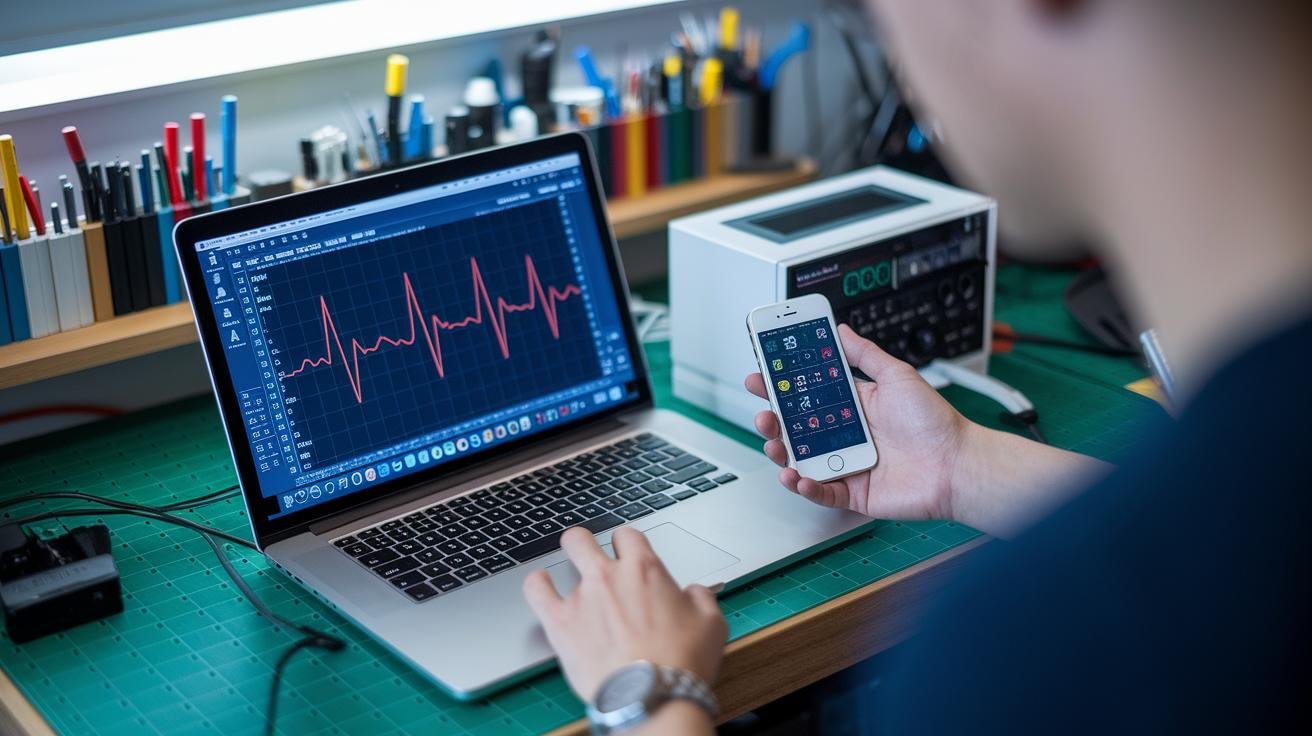
你會在沒有任何使用指南的情況下,把一台太赫茲(THz)設備──一種高頻電磁裝置──插到客廳的插座上嗎?大概不會。這些機器感覺很未來,但它們仍然需要明確的使用規則。.
值得慶幸的是,像FDA、FCC這樣的監管機構以及ISO和IEC等國際標準組織已經制定了相關措施,以確保這些產品的安全性和易用性。您是否想過這些措施在實務上究竟是如何落實的?讓我來為您介紹其中的要點。.
把屏蔽層想像成一條舒適的毯子,它可以阻擋雜散的熱量和訊號進入房間。標籤就像盒子上的簡潔指南,告訴你使用時間長度、安全距離以及基本的注意事項。.
以下是使用太赫茲家用設備時降低熱風險和反射風險的具體實用步驟:
- 510(k) 註冊(FDA 上市前通知)
- FCC ID(聯邦通訊委員會設備授權)
- CE標誌和ISO/IEC合規性(歐洲安全標誌和國際標準)
- 屏蔽規格旨在限制熱量積聚和反射訊號
- 標準作業程序 (SOP) 和例行審核,用於追蹤安全狀況隨時間的變化
按照以下步驟操作,您就可以更安心地將太赫茲設備帶回家中。接下來,我們將用簡單易懂的語言逐一講解每個部件,方便您實際使用。.
太赫茲家庭設備指南促進安全現代使用

如果您正在考慮在家中使用太赫茲設備,了解相關規則及其重要性至關重要。監管主要來自多個機構:美國食品藥物管理局 (FDA)、美國聯邦通訊委員會 (FCC) 以及 ISO 和 IEC 等國際標準組織。這些機構致力於確保設備的安全性、可靠性和易用性。.
你需要做的,簡單來說:
- 使用 510(k)(上市前通知,表明實質等效性)向 FDA 註冊該設備。.
- 取得所有射頻發射器的 FCC ID(無線電設備識別碼)。.
- 保留 CE 標誌(歐盟安全合格標誌)並維持 ISO 13485(醫療器材製造商品質管理標準)。.
- 加上清晰的標籤,標示輻射危害警告和逐步使用說明。.
- 設計屏蔽並記錄規格,以符合 IEC 60601-1-2(電氣安全和電磁相容性標準)。.
- 編寫並遵循防護、登記和使用者訓練的標準作業規程。.
- 定期安排監管審計,並妥善保存訓練記錄。.
關於各機構職責的簡要說明:FDA 負責審核醫療聲明,並透過 510(k) 途徑進行審批。 FCC 負責分配無線射頻使用權並頒發 FCC ID。 ISO 13485 可協助您進行品質管理,而 CE 標誌則表示符合歐盟法規。就這麼簡單。.
屏蔽和標籤不僅僅是紙上談兵。良好的屏蔽就像一層保護毯,可防止熱量和雜訊影響使用者。使用手冊應以簡單易懂的語言詳細說明每次使用時長、安全距離和測試步驟。標籤應警告使用者註意熱效應和意外過度暴露的風險。.
一個實用的技術提示:注意反射功率。將反射功率保持在 10% 以下,以避免損壞倍頻器並降低燒毀風險。可以把它想像成明亮的窗戶反射的眩光,過多的反射會導致熱點。具有高頻發射器的設備應在其文件中包含反射功率限制和測試程序。.
培訓和記錄至關重要。定期使用者訓練、標準操作規程 (SOP) 和審核日誌能夠讓安全計畫清晰可見且切實可行。請妥善保管設備註冊資訊、訓練證書和審核報告,以便檢查。.
想要一份現成的清單和更多實用技巧?請查看太赫茲療法居家使用安全指南:https://olylife.international/?p=1224
對某個設備有疑問?儘管問,我們會一步一步一起解答。.
太赫茲家庭設備的安裝與設定步驟
首先,將所有裝箱物品放在乾淨的桌面上,並與裝箱單核對。選擇一個穩固、整齊的地方,遠離金屬架、鏡子或光滑的瓷磚,以免反射光線進入喇叭。太赫茲(極高頻電磁波)設備對反射非常敏感,因此安靜、乾淨的空間至關重要。.
-
開箱和檢查
- 確認電源供應器、魔杖或喇叭、天線零件、快速入門指南和安全標籤是否齊全。.
- 請在射頻連接埠附近尋找黃色"REFLECTED POWER 10% MAX"標籤。順便一提,射頻指的是無線電頻率,所以請閱讀手冊中關於不要遮擋光束或覆蓋連接埠的說明。.
-
初步測試和皮膚檢查
- 將設備開機並調至最低輸出功率。在一小塊皮膚上測試幾秒鐘,感受輕微的溫熱感。.
- 如果發現皮膚發紅或感到不適,請立即停止使用。安全第一。.
-
放置和對齊
- 將設備安裝在平坦的表面或三腳架上,確保光束傳播路徑暢通無阻。喇叭口是發射光束的傾斜開口,因此請保持其暢通無阻。.
- 請將設備保持在製造商建議的距離內。避免在喇叭前方約 10 公分(4 吋)放置任何物品。請依照手冊中的波束控制步驟精確瞄準。.
-
連接性和韌體
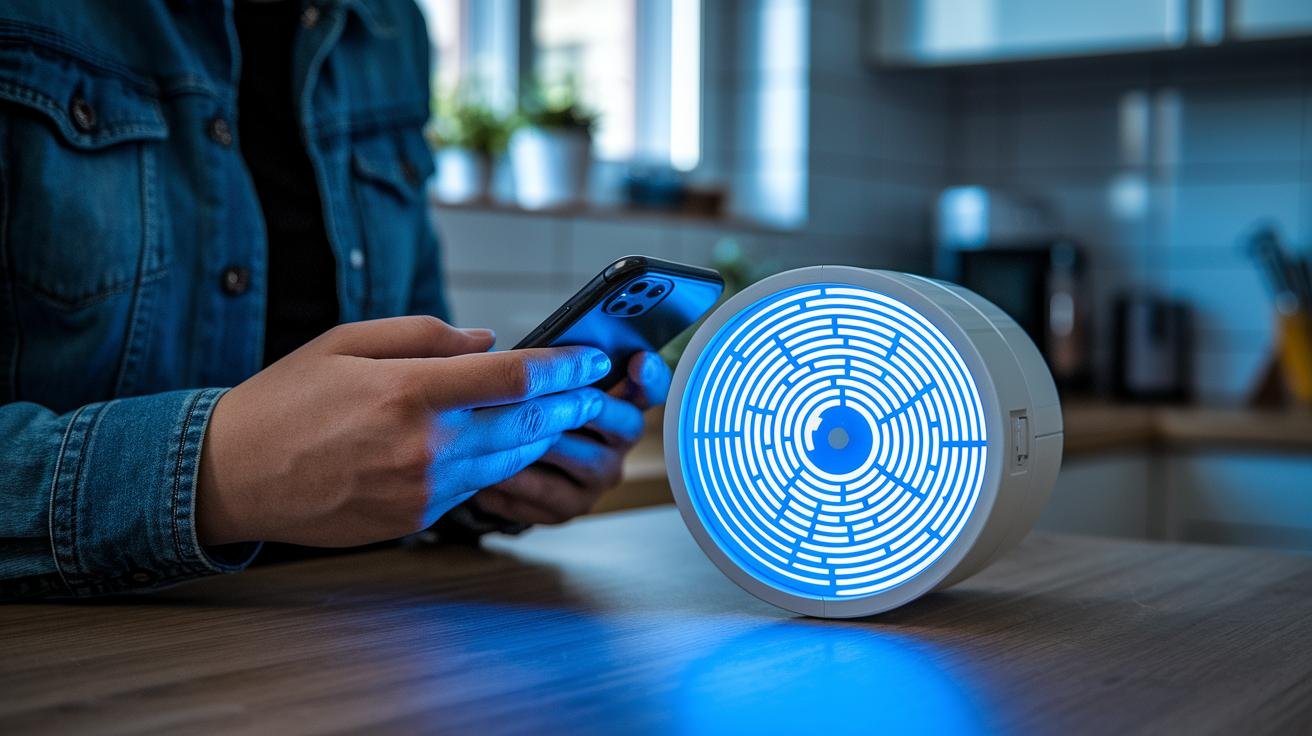
- 將裝置置於配對模式並將其與配套應用程式連接。設定強密碼的本地 Wi-Fi 網路,並盡可能將裝置連接到專用網路。.
- 請在開始全面操作前安裝所有韌體(裝置軟體)更新。更新通常可以修復漏洞並提高安全性。.
-
最後安全檢查
- 檢查屏蔽面板是否安裝到位,散熱通風口是否暢通。快速目視和觸摸設備,檢查是否有鬆動部件。.
- 運行一段短時間的低功耗程序,同時密切觀察設備是否有錯誤。如有任何異常情況,請立即停止運作並查閱使用手冊或聯絡技術支援。.
對了,這裡還有個小技巧:記錄你最初幾次設定的時間、距離和產量,這樣你就能發現規律。一開始每次設定時間不要太長,水要放在手邊,相信你的直覺,如果感覺不對勁,就暫停並找出問題所在。.
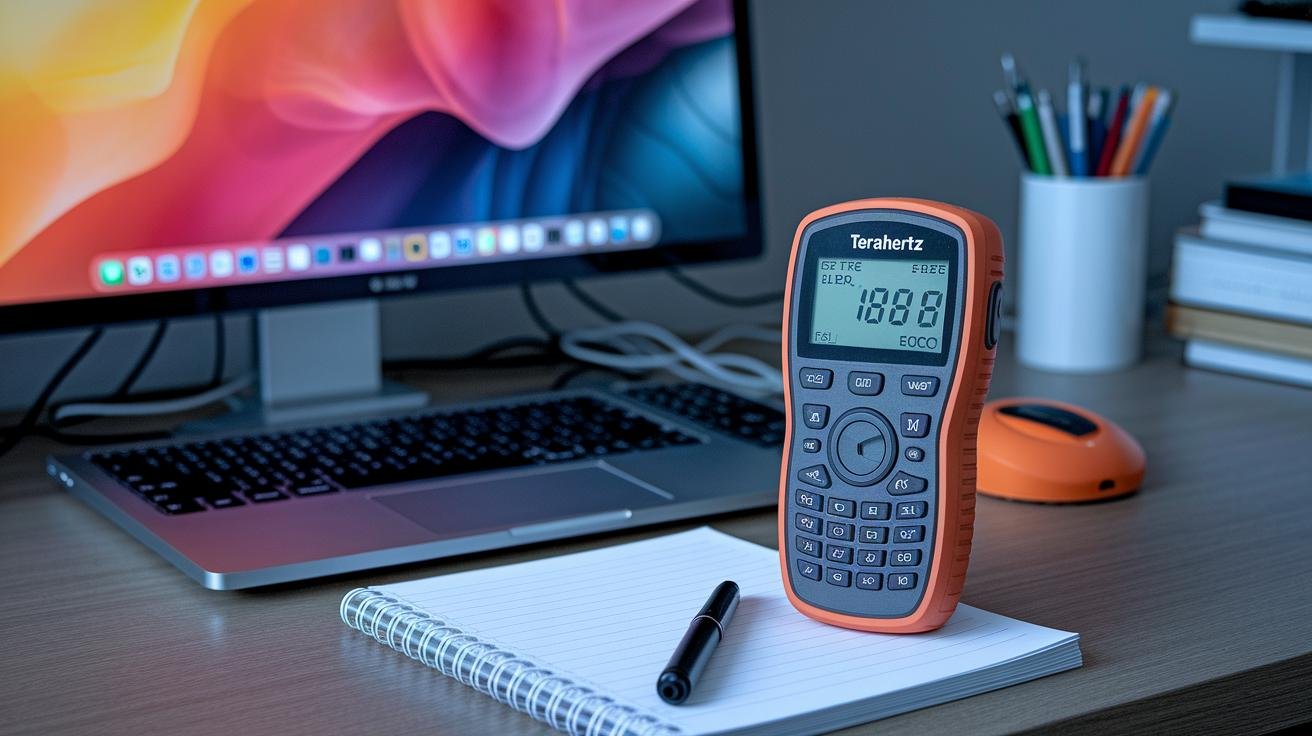
太赫茲設備的暴露限值和即時監測

在開始療程之前,請設定明確的數值限制。低、中、高太赫茲 (THz) 頻段各自都有特定的安全療程時長與距離-參見 用於治療的最佳太赫茲頻率 為了幫助您選擇適合自身目標的腕帶,請參考相關指南。您可以將設定想像成一個輕柔的計時器。您是否嘗試過計時進行第一次鍛鍊?建議從較短時間開始,並觀察皮膚的變化。.
| 頻率範圍 | 最長會話時長 | 建議距離 | 脈衝持續時間 |
|---|---|---|---|
| 0.1–1 THz | 15分鐘 | 5公分 | 0.5 磅 |
| 1–3 THz | 10分鐘 | 3公分 | 0.3 磅 |
| 3–10 THz | 5分鐘 | 2公分 | 0.2 磅 |
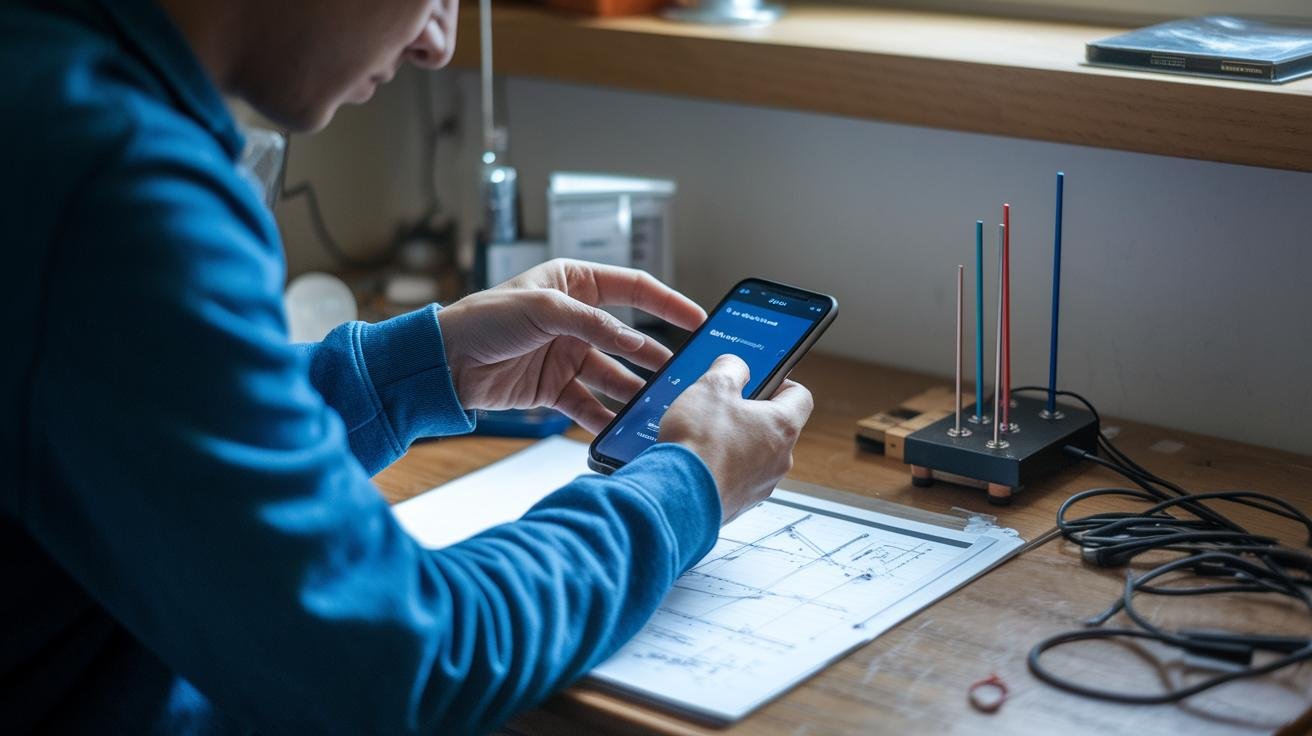
優秀的消費級太赫茲監測儀能夠即時記錄曝光時間、功率輸出、設備與皮膚的距離以及累積能量密度(單位面積的總能量)。脈衝重複頻率最高可達 1 kHz(千赫茲),因此您的日誌應包含脈衝計數和平均功率。最佳的記錄方式是使用帶有時間戳記的本機檔案、加密雲端同步以及便捷的 CSV 匯出功能,以便進行檢視或稽核。.
如果收到警報提示您已超過閾值,請停止會話,檢查您的設定並閱讀手冊。另外,如果您需要檢查問題或與臨床醫生分享數據,請妥善保管您的日誌。想要一個簡單的經驗法則嗎?如果拿不準,就把時間減半,然後觀察您的感覺。.
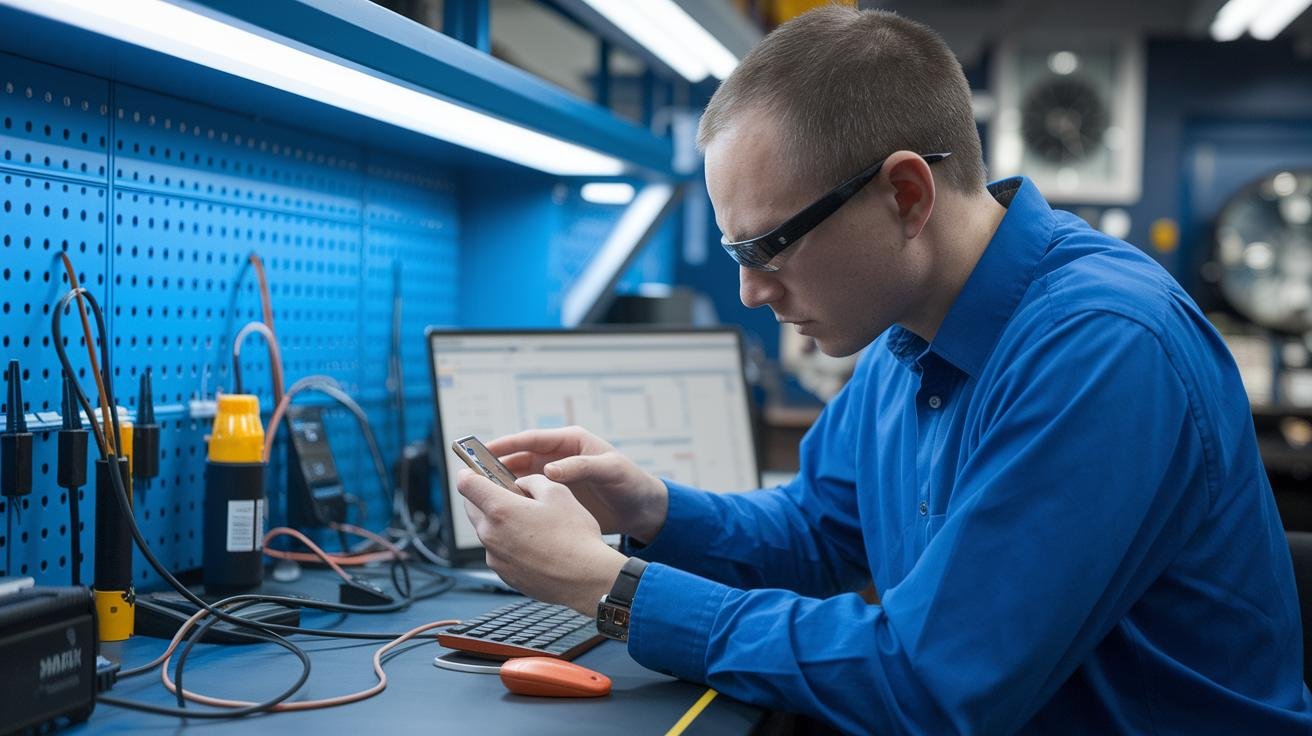
家用太赫茲設備的校準和維護最佳實踐
季度檢查能確保您的太赫茲(THz,高頻電磁波段)設備運作穩定。它有助於保持功率輸出準確、波束對準穩定以及性能可預測。微小的偏差累積起來也會造成嚴重後果,因此及早發現問題可以節省時間和精力。.
首先使用校準過的功率計(以瓦特或毫瓦為單位測量輸出功率)和對準目標進行校準。測量正向功率和反射功率,並確認反射功率保持在 10% 標籤規定的限值以下。調整天線耦合,直到波束中心與出廠規格相符。將校準前後的讀數記錄在日誌中,以便觀察隨時間變化的趨勢。.
每次季度運行都應包含韌體更新。韌體(控制硬體的設備軟體)應先進行備份。在專用網路上應用製造商發布的版本,然後以低輸出運行一個簡短的驗證會話,以檢查暴露控制和安全性修補程式。如果更新改變了設備的運作方式,請回滾並聯絡技術支持,然後再恢復正常會話。.
每次檢查都使用簡單的檢查清單:屏蔽面板是否安裝到位、通風口是否暢通、天線連接器是否緊固、冷卻風扇是否運轉正常、外殼是否無裂縫。打開任何面板前,請先斷電並拔掉電源線。每次檢查後拍照,並將照片與您的維護記錄一起保存——這些照片在與先前的檢查結果進行比較時非常有用。.
如果您發現異常的熱讀數或不尋常的錯誤代碼,請立即停止使用設備並聯絡售後服務。倍頻器故障維修起來可能既昂貴又耗時,因此及早發現細微的異常跡象至關重要。您是否曾經注意到不應該發熱的地方出現了微弱的發熱感?如果是這樣,就應該立即停止使用並尋求協助。.
快速季度檢查清單
- 使用經過驗證的功率計和校準目標進行校準;記錄校準前後的讀數。.
- 確認反射功率低於 10%,並根據需要調整天線耦合。.
- 備份設置,在專用網路上套用韌體更新,並在低輸出下進行驗證。.
- 檢查屏蔽層、通風口、連接器、風扇和外殼;拍照並記錄檢查結果。.
- 打開面板前,請先關閉電源並拔掉電源線。.
- 如果出現熱異常或奇怪的錯誤代碼,請停止運行並聯絡技術支援。.
接下來,整理好你的日誌,並每年回顧趨勢。事實上,一些日常維護工作可以確保訓練的連貫性,讓你安心無憂。.
太赫茲家庭設備的故障排除與錯誤處理
如果您擁有一台太赫茲 (THz) 家用設備,即使用介於微波和紅外線之間的電磁波的設備,這裡有一個簡單的故障及解決方法指南。您可以把它看作是對設備進行一次簡短的維護檢查。您是否曾經遇到過奇怪的錯誤,並猶豫是否應該繼續使用?不要,請立即停止。.
重要警報:倍頻器故障可能造成永久性損壞。倍頻器(一種提高訊號頻率的組件)故障意味著必須立即停止使用並聯繫認證技術支援。切勿嘗試繼續運作設備。.
例如:「F 乘法器錯誤」-停止會話,關閉電源,並聯絡認證支援人員。.
常見故障及其通常意義:
- 反射功率警告-反射功率是指能量像迴聲一樣反射回發射器。這通常表示天線或喇叭天線與周圍環境之間存在耦合或反射問題。請先檢查連接處和附近物體。.
- 過熱警報-設備溫度過高。請讓設備冷卻並降低輸出功率,直到溫度恢復正常。您可以把它想像成讓設備小睡一會兒。.
- 對準故障-喇叭天線被異物遮蔽、天線連接鬆脫或安裝座移位。重新調整並固定所有零件,然後再次測試。.
- 韌體不符訊息-設備韌體版本與硬體版本不符。在更新韌體或使硬體版本匹配之前,請勿執行完整會話。.
功率診斷注意事項:使用功率計(測量正向功率和反射功率的工具)比較正向功率和反射功率的讀數。耦合或反射問題的跡象現已納入校準和維護檢查清單中。.
更多步驟:故障排除步驟、電磁幹擾防護措施和常規連接檢查已移至「安裝(放置和連接)」和「維護」部分。電磁幹擾防護技巧包括:將設備遠離強無線電訊號源、使用屏蔽電纜、將機箱接地以及添加鐵氧體磁珠(可減少干擾的小型磁環)。對了,還有一個小技巧:將設備移動幾英尺後重新測試,有時只需這樣做就能解決問題。.
如果按照上述步驟操作後故障仍然存在,請停止使用並聯絡認證技術支援。防患於未然總是好的。.
🎁 領取免費健康禮品
在下方輸入您的姓名和電子郵件地址,即可免費獲得 OlyLife 提供的特別健康禮物!
太赫茲家庭設備的性能優化和高級應用
如果您已經完成了基本的設定檢查——韌體、反射功率限制、屏蔽、天線耦合和會話日誌——那就太好了。這些程序和安全事項分別位於「安裝」、「校準與維護」和「故障排除」部分,請參閱這些部分以取得詳細的步驟說明。接下來的內容將重點介紹高階成像選擇和光譜學基礎知識,這些內容在上述部分中不會涉及。.
高階成像與時域光譜 (TDS)
想要更清晰地顯示微小的含水量差異?試試降低重複頻率(即每秒脈衝數減少),並增加平均次數。減少脈衝數通常會提高單脈衝動態範圍或減少脈衝重疊,而平均則能抑制隨機雜訊。這樣一來,由額外水分引起的小幅振幅下降或微小時間延遲就更加明顯了。例如:將重複頻率減半,並將平均次數增加一倍;細微的含水量變化就能表現為振幅的小幅下降和微小的延遲。.
脈衝的工作原理簡單來說:短促的太赫茲脈衝就像快速的敲擊聲,探測器讀取的是這種敲擊聲的強度和到達時間。產生和讀取這些敲擊聲的兩種常用方法:
- 光電導天線 (PCA) 是一種雷射門控半導體開關,用於發射或檢測脈衝。您可以將其想像成一個微型開關,它會隨著雷射閃爍,從而讓您讀取每個太赫茲脈衝。 PCA 易於對準,體積小巧,適合家庭環境。.
- EOS(電光取樣)是一種非線性晶體,其偏振態會隨著太赫茲脈衝的傳播而同步改變。它通常能提供更寬的頻寬和更低的噪聲,但需要更穩定的光路,並且對振動和對準要求較高。.
波形解讀:始終先測量參考波形,然後記錄樣本波形並進行比較。注意時間偏移——延遲通常意味著有效折射率的變化——以及振幅變化——振幅降低通常意味著吸收率升高,這通常是由於水的吸收造成的。在經過足夠的平均後,幾十飛秒(fs)的微小延遲和低百分比的振幅下降也可能具有意義。想像一下,聽到一個只有極小延遲的迴響──這微小的延遲可以告訴你一些真實訊息。.
實用掃描策略要點:
- 當您需要對比度而不是速度時,請使用較低的每秒脈衝數並擷取更多重複次數。.
- 在變換到頻域之前,先在時域中取平均值以保留相位資訊。.
- 在長時間平均過程中保持光學計時穩定性——漂移會抹去你正在尋找的細微變化。.
- 請說明您的參考條件——溫度、距離和方向——以便後續的比較有意義。.
安全性提示:請遵循「安裝、校準與維護」和「故障排除」部分中概述的裝置反射功率、曝光量和韌體更新程序限制。本節內容僅介紹操作技巧,不包含新的安全規則。.
檢測器特徵快速參考清單:
- 光電導天線(PCA)-結構緊湊,易於對準,適用於多種家庭環境。.
- 電光採樣(EOS)-具有更高的保真度和頻寬,但對對準和振動更敏感。.
最後一點建議:在將樣品與參考樣品進行比較時,請務必以簡明易懂的語言記錄參考樣品的條件。溫度、距離和方向是最重要的幾個因素。這樣,即使進行多次測試,也能解釋樣品在時間上的微小偏移和振幅變化。.
家用太赫茲設備採購和合規性檢查清單
購買清單
-
可調節功率並帶有硬體限制——選擇允許安裝人員在硬體中設置硬性最大值的設備,而不僅僅是透過軟體開關。這樣即使軟體設定發生更改,也能保持最大輸出功率鎖定。 (例如:在韌體中設定最大輸出功率——韌體是設備的內建控制軟體——這樣即使出現小錯誤也不會導致磁場峰值過高。)
-
即時暴露監測-注意觀察局部暴露量和累積劑量的清晰、穩定顯示。像油表一樣逐行遞減的即時百分比讀數,讓安全狀況一目了然,易於一目了然地查看。.
-
用戶可自行更新的韌體應附有廠商簽名-更新內容應經過廠商簽名,以確保其可靠性。這樣可以保留審計追蹤記錄,並在需要時進行回滾。例如,可以要求變更日誌條目,例如「v1.2.1 - 修復曝光讀數偏移」。"
-
提供校準和反射功率資料記錄-取得校準證書和反射功率報告(反射功率是指反射回設備的功率),報告應包含日期和測試設定說明。例如:"校準日期:2026年1月12日,反射功率在連接埠 A 處測量,附設定圖。"
-
監管資訊交叉參考-詳細的認證和安全閾值請參閱「監管」部分。購買前,請務必查看該部分以獲取完整的測試報告和合規性說明。.
如果對以上任何內容有疑問,可以向供應商索取帶有註釋的報告副本。.
供應商/採購清單
- 清晰明確的書面保固條款和保固期限。.
- 經認證的本地服務中心或授權技術人員。.
- 針對長達數週的維修,提供備用設備。.
- 維護計劃範例和可搜尋的稽核或服務日誌。.
| 成本項目 | 典型估算 |
|---|---|
| 校準套件/年度校準 | $150 – $600 |
| 備用屏蔽面板/維修 | $100 – $800 |
| 服務訪問(現場) | $200 – $1,200 |
| 更換零件(年均) | $50 – $500 |
有關更詳細的成本模型、建議的更換週期和審計日誌模板,請參閱維護部分。.
結語
我們直接切入正題:FDA、FCC 和 ISO 的安全規則,以及五個合規步驟、設備註冊 (510(k)) 和 FCC ID、CE 和 ISO 13485、清晰的標籤、IEC 屏蔽規範以及使用者培訓和審核。.
接下來,我們講解了設定、按頻率和距離劃分的曝光限制、校準程序、韌體更新、故障排除以及提高成像品質的技巧。.
請將太赫茲家用設備使用指南作為安全使用和維護的檢查清單。放鬆身心,您將獲得更安穩的睡眠、更少的酸痛和更穩定的精力。.